KnowHow Installation Guide
The Know-How module of Legal Intelligence allows synchronising internal know-how directly to Legal Intelligence, with the aim to make these data searchable in Legal Intelligence. Internal know-how can cover various kinds of data, for instance library system exports (i.e. Bibis, Cardbox, Aura) and file system directories.
Customers that use the Know-How module get their own storage within the ISO 27001 certified data centre of Legal Intelligence. Customers can login at https://files.legalintelligence.com using the credentials as provided by Legal Intelligence. As a customer, you are in full control since data needs to be actively shared with Legal Intelligence.
The know-how installation guide explains the steps necessary to install the know-how module. Installing the know-how module requires three steps to setup automated and regular synchroni- sation process between files.legalintelligence.com and your local files. A program called KLS Backup controls the synchronisation.
Step 1: Download & Install KLS Backup
KLS Backup is a software program provided to you by Legal Intelligence which is used to synchronise data between locations.
1.1 Download KLS Backup
The required software can be downloaded from: https://www.legalintelligence.com/Files/klsbackup_pro_9.2.1.0.zip
1.2 Install KLS Backup
Run the downloaded file and click ‘Yes’ when you are asked to install the Backup Service.
1.3 Register KLS Backup
Use the credentials as provided to you by Legal Intelligence. The registration option is available in the help menu.
Step 2: Create synchronisation schema
Within Legal Intelligence, a synchronisation schema needs to be defined. The steps below describes the necessary steps to create a new synchronisation schema.
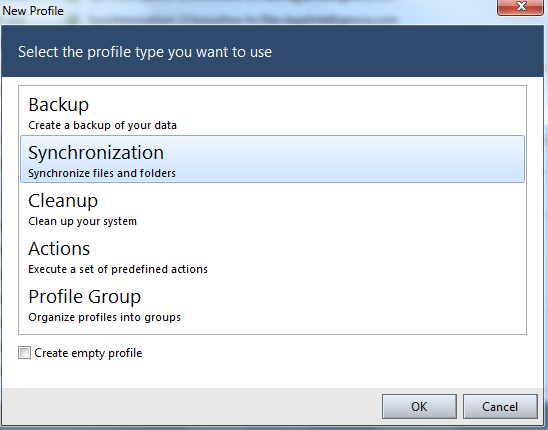
2.1 Create a new Profile and select ‘Synchronisation’
To create a new synchronisation profile, click New and select the Synchronisation type.
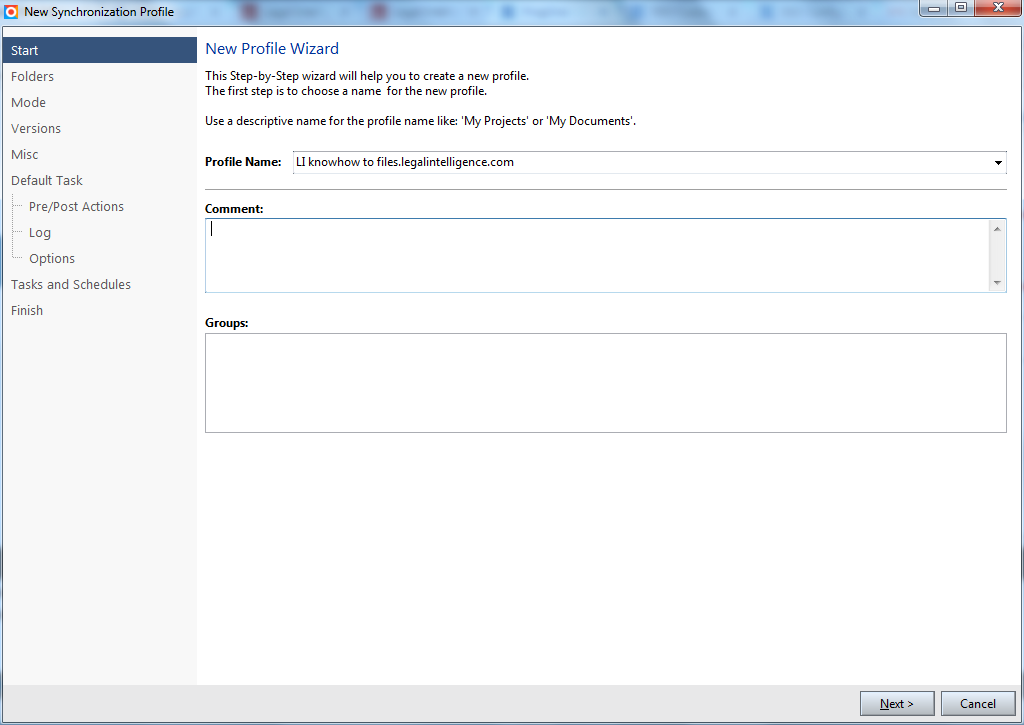
2.2 Enter Profile Name and Comment or Group (optional)
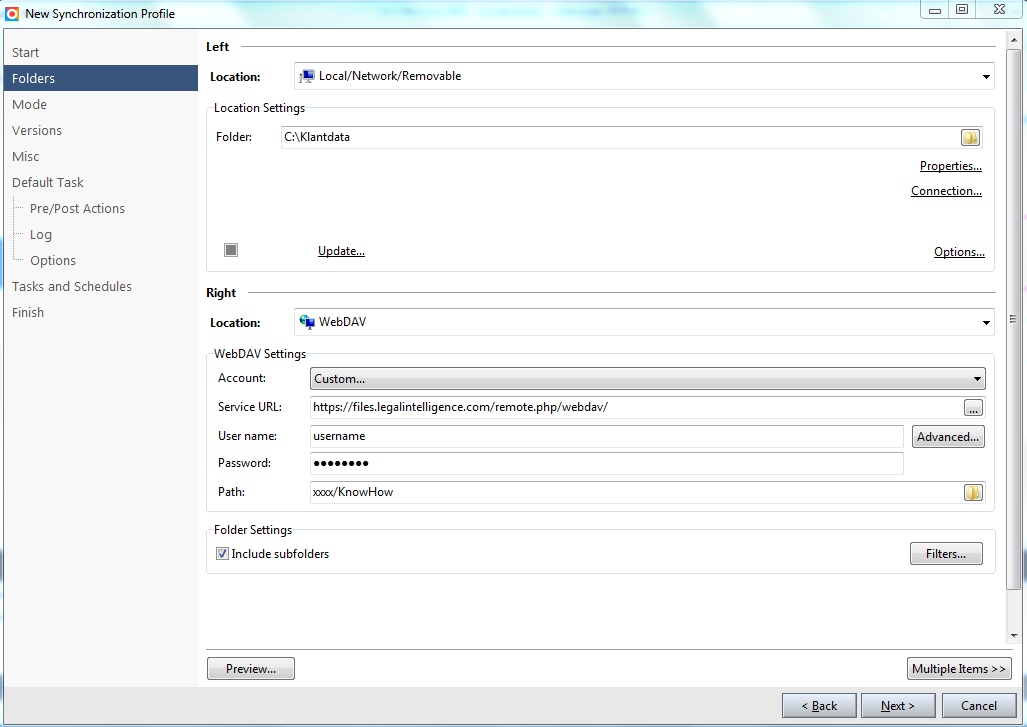
2.3 Set folders
The Folder option allows setting the Left location and the Right location to the synchronisation profile. The Left presents the location of the internal know-how locally and the Right is the reference to the webdav server at https://files.legalintelligence.com. The URL, Path, User name and Password are provided to you by email. The Path & User name in the picture below server as an example! Use the ones provided to you by email. Make sure the ‘Include Subfolders’ tickbox is set.
Network paths have to be added as unc path. For example, your connected Z: drive in Windows needs to listed as \serverpath ofolder instead of Z:path ofolder.
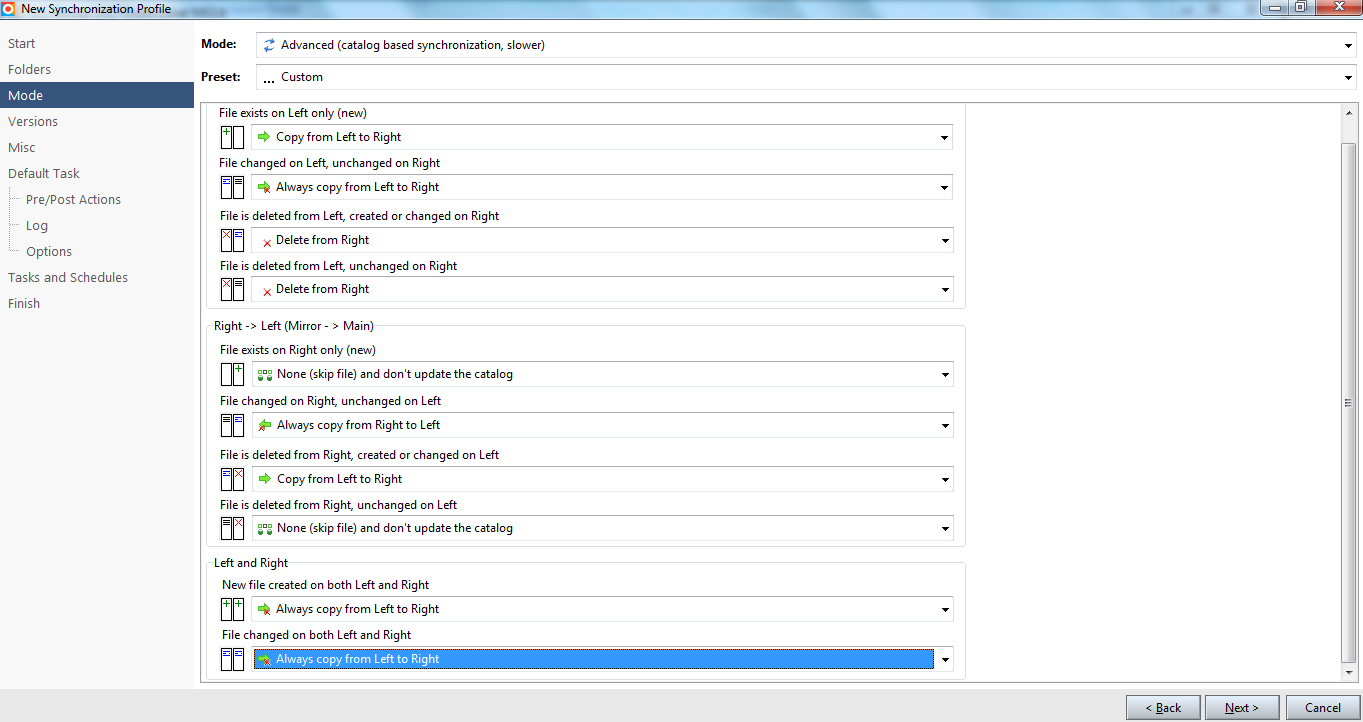
2.4 Set Mode
The Left folder is leading. Therefore, any change, for whatever reason, that is made on your account at https://files.legalintelligence.com folder will be ignored.
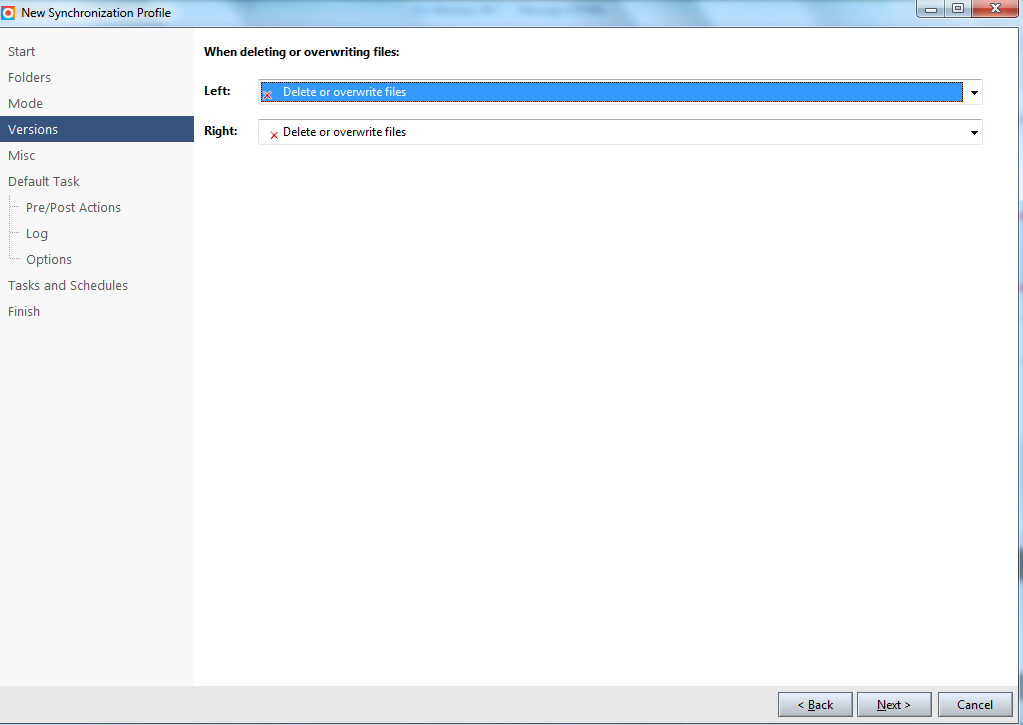
2.5 Versions
Select which action you want to undertake when deleting or overwriting files.
2.6 Misc
Here other options can be set. Nothing is required to change from the screenshot below.

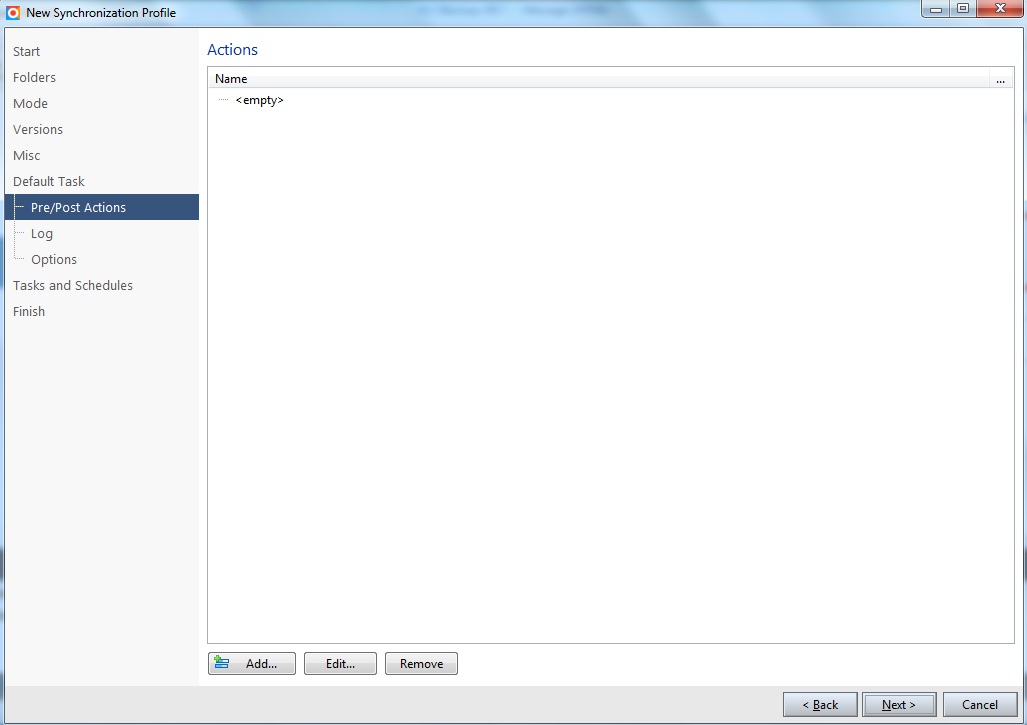
2.7 Default Task: Pre/Post Actions
No actions are required here.
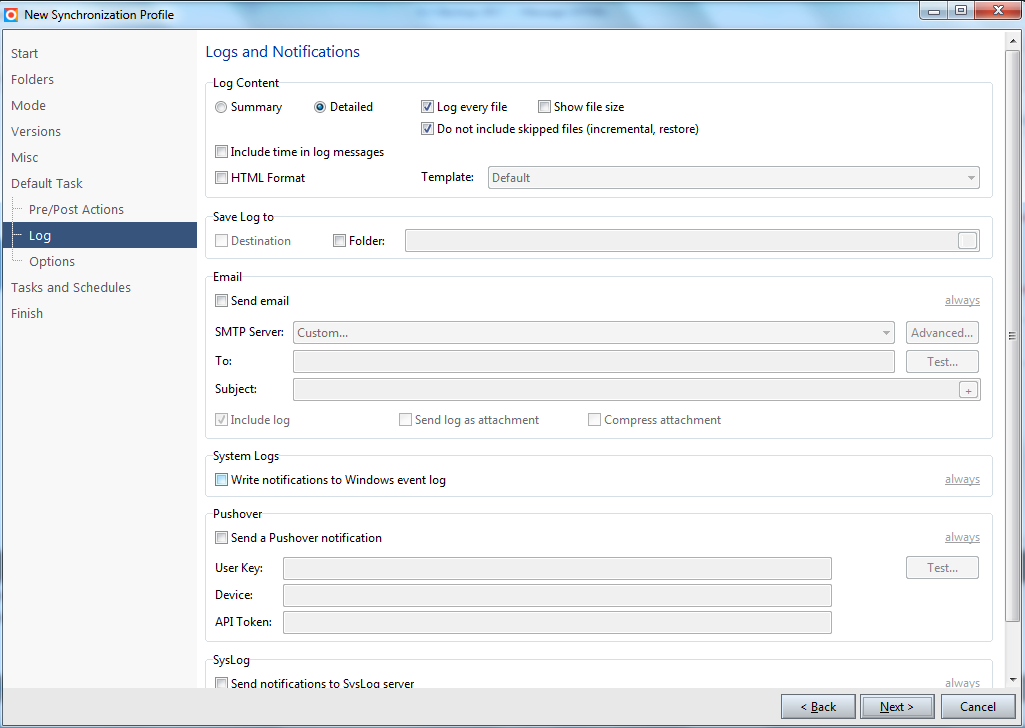
2.8 Default Task: Log
It is possible to send log files per email. If possible, please send the logs to knowhow@legalintelligence.com. This can be accomplished by ticking the “Mail Log on job” option. The email can be sent to knowhow@legalintelligence.com with a subject with a mention to the law firm (e.g. KnowHow Synchronisation Log from <>). Make sure to tick the option ‘Send log as attachment’ and ‘Compress Attachment”.
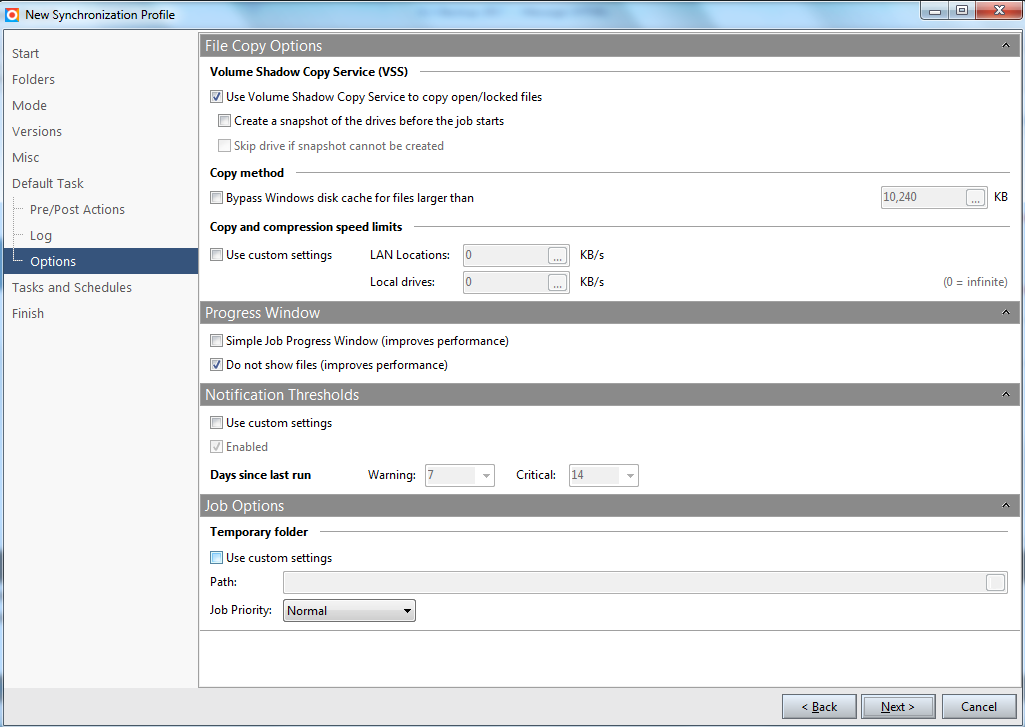
2.9 Default Task: Options
No actions required here.
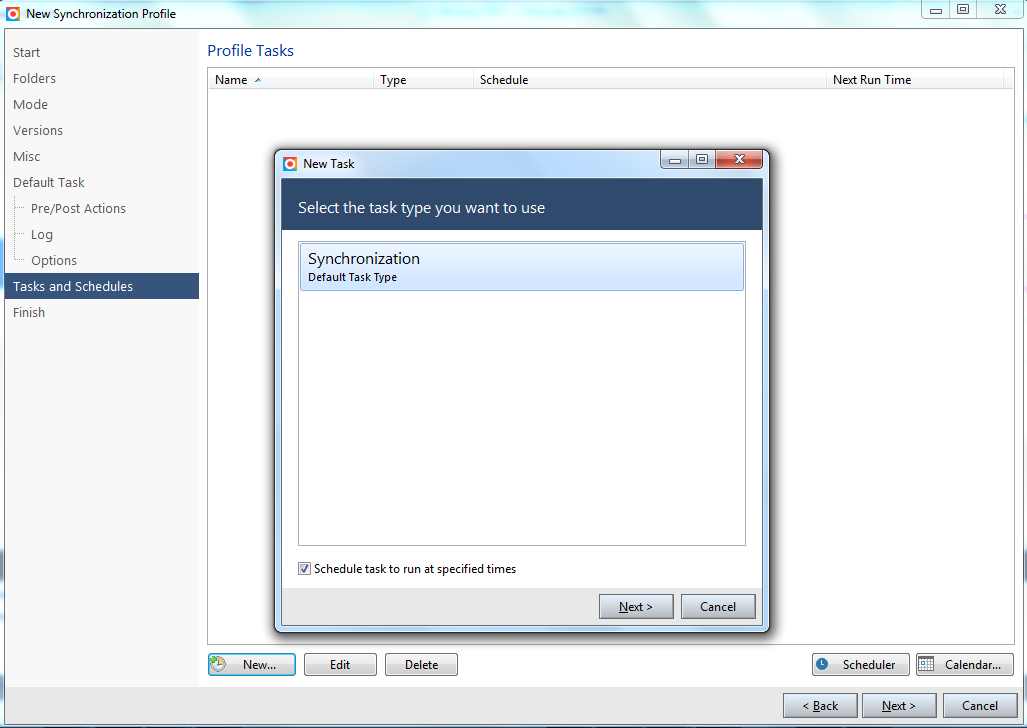
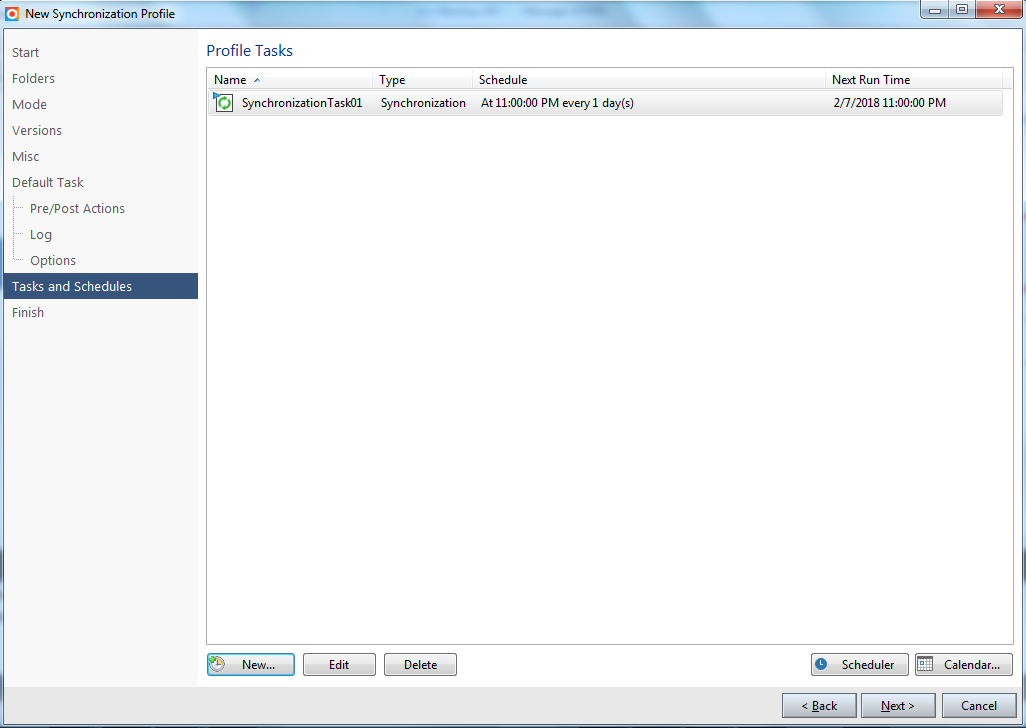
2.10 Tasks and Schedules
Click on ‘New’ and select ‘Synchronization’ as task type. Check the box at the bottom to run at specific times. Then click on ‘Next’.
Then you can edit the schedule. We recommend setting to at least daily and a time between 21:00 and 01:00 at night. Select the KSL Backup Scheduler Service, which is a regular Windows Service.

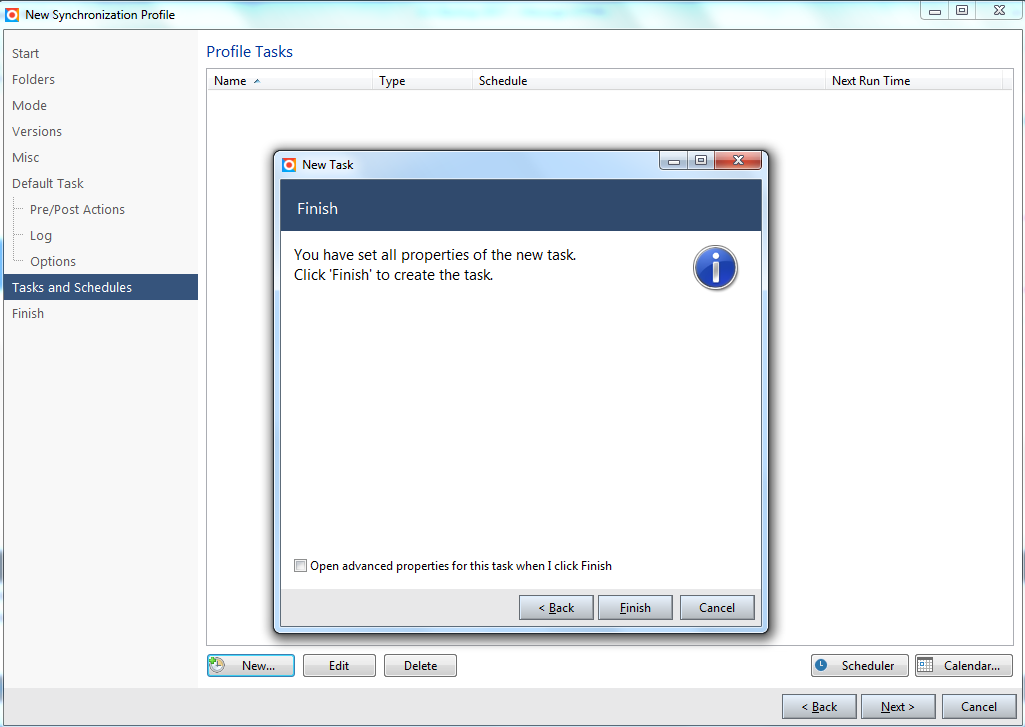
After clicking on ‘Next’ and then ‘Finish’ the task set-up is done.
Click on ‘Next’ to continue.
2.11 Finish setup
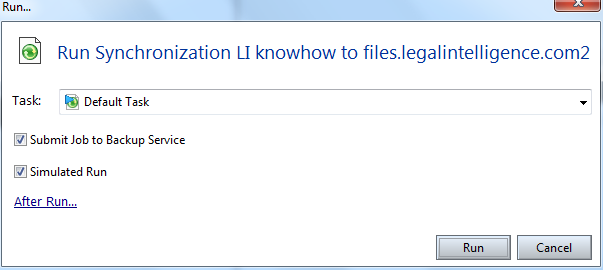
Here you can run a test and finish the setup.

After a successful simulation, please run the synchronisation process manually such that you can verify if the files are indeed available on files.legalintelligence.com (see next step).
2.12 Log into https://files.legalintelligence.com
Open https://files.legalintelligence.com to validate that the files are synchronised correctly. You can use the user name and password as provided in the email that you have received from Legal Intelligence (same ones as used in step 2.3).